7 fruits and vegetables a day is a bit harder than I thought.
A few days ago, I set myself a
challenge to eat 7 fruits and vegetables minimum in 7 days to see how it affected me, my wellbeing and how hard or easy it might be.
I'm on day 3 now and I need to find ways to liven things up!
BreakfastI was at work early today so took breakfast of rice crispies and a banana. This is actually far more than I'd normally eat for breakfast so I ended up saving the banana for mid morning. I will definitely be stretching myself more from a culinary point of view at the weekend when I have more time!
LunchLunch was
Gazpacho again (2 portions of vegetables) due to making a double batch yesterday with watermelon and a satsuma afterwards. I was up to 5 of my 7 after lunch but felt the need to 'retox' with some chocolate cake. A girl needs something unvirtuous!
TeaOk... this week has been harder (even by day 3) than I expected. I needed fried. So wrong. I know, I had chocolate there was even some sugar on the rice crispies.
But the problem is I'm just so full! Maybe I don't eat big portions but 7 lots of vegetables, in the portion sizes recommended really limits what else you can eat.
So I needed fried. I needed something which felt wrong even if it was full of vegetables. Pakora it is!
Vegetable Pakoras - Makes enough for two
Ingredients100g, 3.5oz Gram Flour (chickpea flour, garbanzo bean flour, besan)
2 tsp Garam Masala
2 tsp Curry Paste (as hot as you want it to be, I was cooking for myself so used madras but I'd use korma paste for my son)
60g, 2oz Defrosted frozen chopped spinach
60g, 2oz Defrosted frozen peas
2 Spring onions (scallions)
Juice 1/2 lemon
1/2 tsp Baking powder (gluten free is easily available if avoiding wheat)
1 tbsp Fresh Coriander, chopped (cilantro)
70 - 100ml, 2.5 - 3.5 floz water
Oil for frying
Mango chutney to serve
MethodMix the flour, spice, curry paste and lemon juice. Mix in enough water to make a batter about the thickness of pancake batter.
Add in the baking powder, spinach, peas and spring onions and mix well.
Heat up about an inch or couple of cm of oil in a saucepan and when it's hot, drop a spoonful into the fat. Cook until well browned turning a few times. Use this 'trial' pakora to check that it's cooked through by breaking it open. If it's a bit runny in the middle chalk that one up to experience and, turn the heat down a bit to cook the others.
Drain on kitchen paper and serve.
Update: Store any leftovers in the fridge for a couple of days and reheat at 200oC for 6-10 minutes or until warmed through and crisp again on the outside.
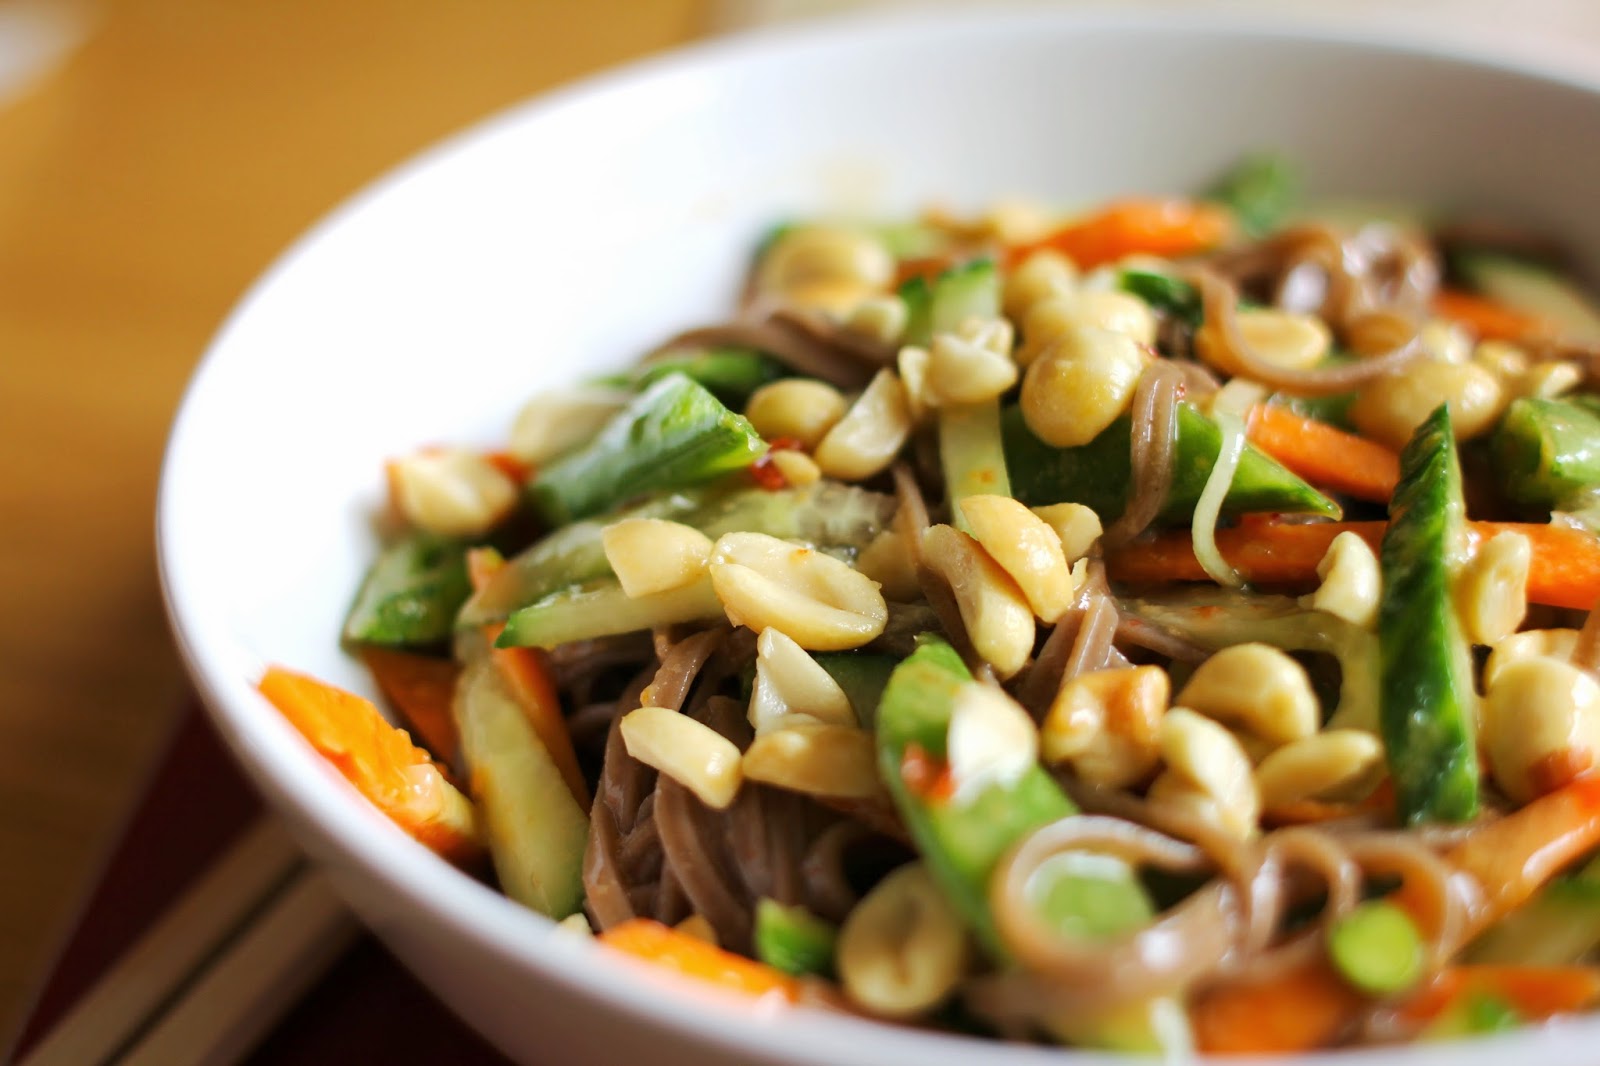
I have to admit, I was going to have this with some
carrot salad but I just fancied the pakora. I know but they were delicious. I could only manage to eat half of the batch which actually means I'm a bit light on my vegetable count for the day...
Or am I? Under the '5 a day' rules anyway, pulses were permitted for one of the 5 a day... so my chickpea flour counts! Result!
The pakora might not have been fabulous for the waistline but they were great for the soul.
7 a day done! Kinda. Why does it feel I've achieved it
via a technicality? 7 portions of 10 different fruits and vegetables; banana, satsuma, tomato, pepper (capsicum), cucumber, watermelon, chickpeas (garbanzo beans), spinach, peas and spring onions (scallions).


